Optimizing Your Windows 11 Experience: Spell Checker and Autocorrect Features Explained
Thursday, 5 September 2024, 07:00

Discover the Power of Windows 11 Help in Configuring Spell Checker
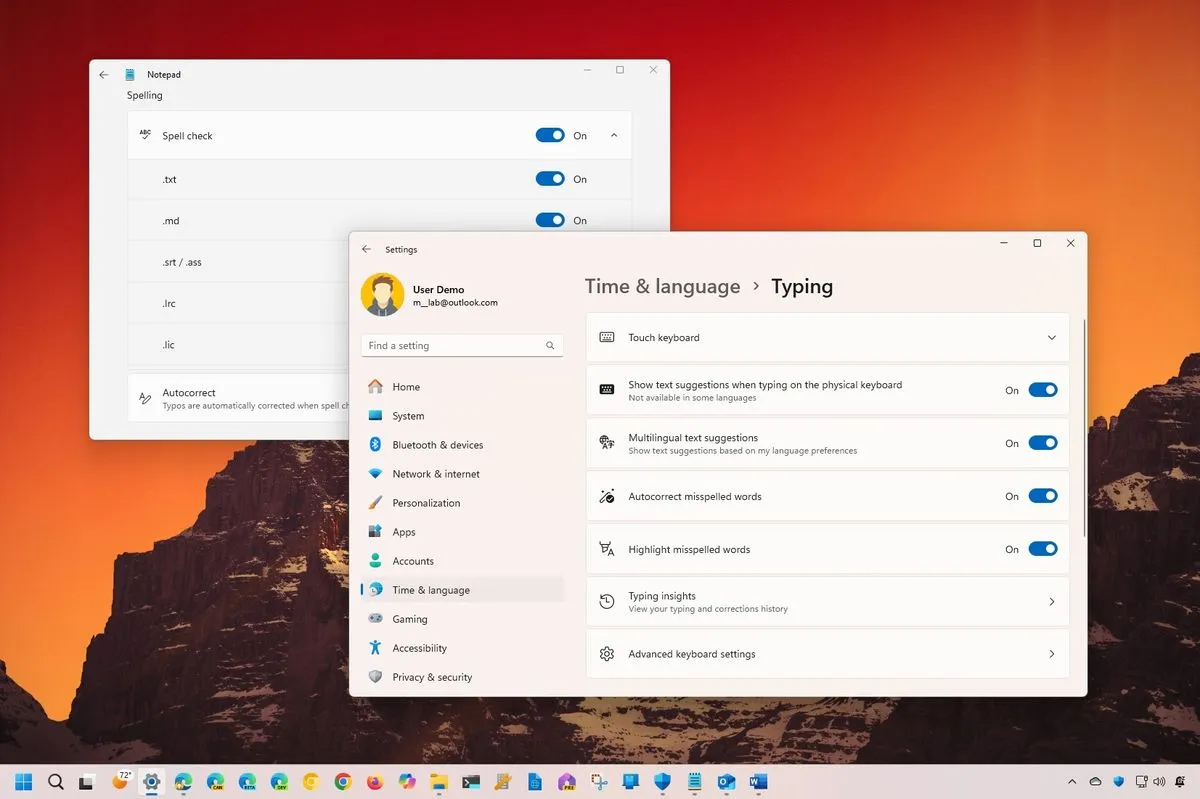
Windows 11 includes some advanced spell checker and autocorrect features that many users may not fully utilize. In this guide, we'll walk you through the process of optimizing these tools to ensure your writing stays error-free.
Steps to Configure Spell Checker in Windows 11
- Access Settings: Open Windows settings and navigate to the Time & Language section.
- Language Options: Here, select your preferred language and click on Options.
- Enable Features: In this menu, you can toggle on spell checking and autocorrect settings as needed.
Tips for Using Autocorrect Effectively
- Customize Corrections: Add or remove words from the autocorrect list to fit your writing style.
- Language Consistency: Ensure your selected language matches the writing context for better accuracy.
- Regular Updates: Keep your operating system updated to benefit from the latest features and improvements.
By following these steps, you can make the most out of the spell checker and autocorrect tools in Windows 11, enhancing your overall productivity.
This article was prepared using information from open sources in accordance with the principles of Ethical Policy. The editorial team is not responsible for absolute accuracy, as it relies on data from the sources referenced.