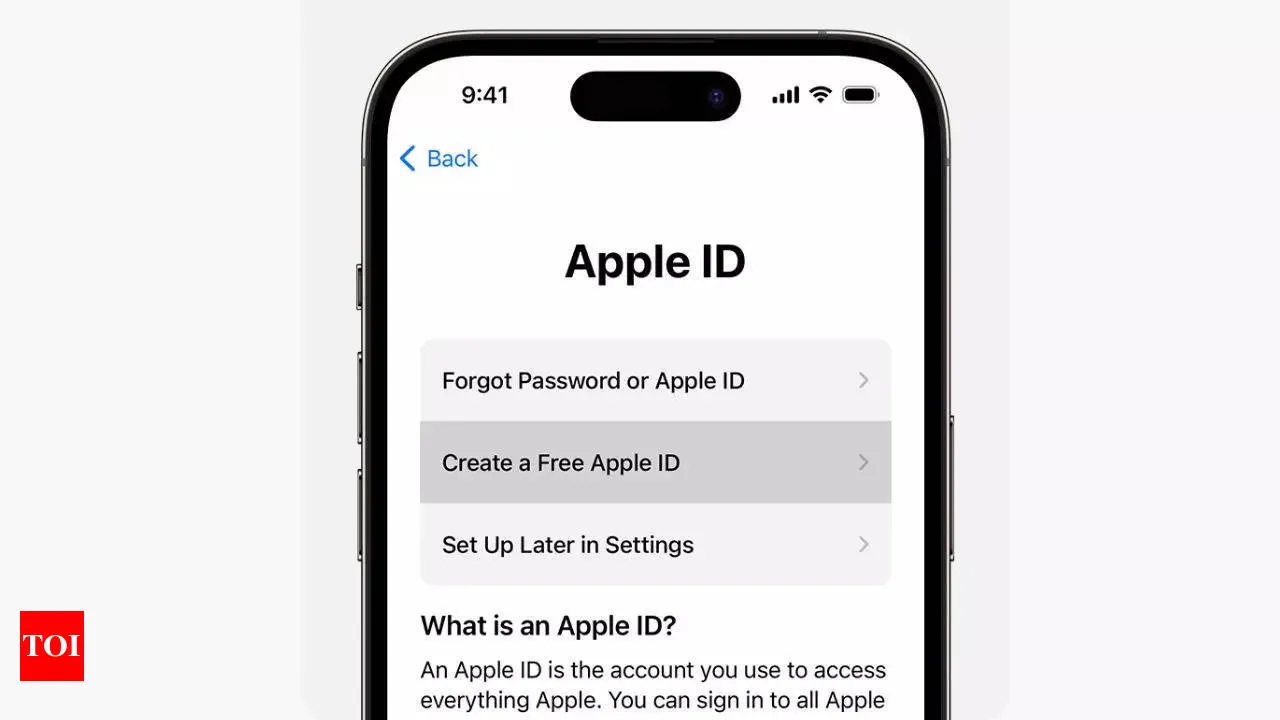
Updating Your Email Address Linked to Apple ID: A Step-by-Step Guide

Step 1: Access Apple ID Settings
On your iPhone, iPad, or Mac, navigate to your Settings. Tap on Apple ID, which will be found at the top of the Settings menu.
Step 2: Choose to Update Email Address
Select Name, Phone Numbers, Email. Tap Edit next to Reachable At to begin the update process.
Step 3: Input New Email ID
Enter the new email address you want associated with your Apple ID. Make sure it is a reliable email address to facilitate account recovery later on.
Step 4: Verification Code
You will receive a verification code on your new email address. Enter this code to confirm the change in your Apple ID settings.
Step 5: Complete Update
Once you’ve submitted the verification code, your email ID linked to Apple ID is successfully updated. Always ensure this email is current for security purposes.
This article was prepared using information from open sources in accordance with the principles of Ethical Policy. The editorial team is not responsible for absolute accuracy, as it relies on data from the sources referenced.