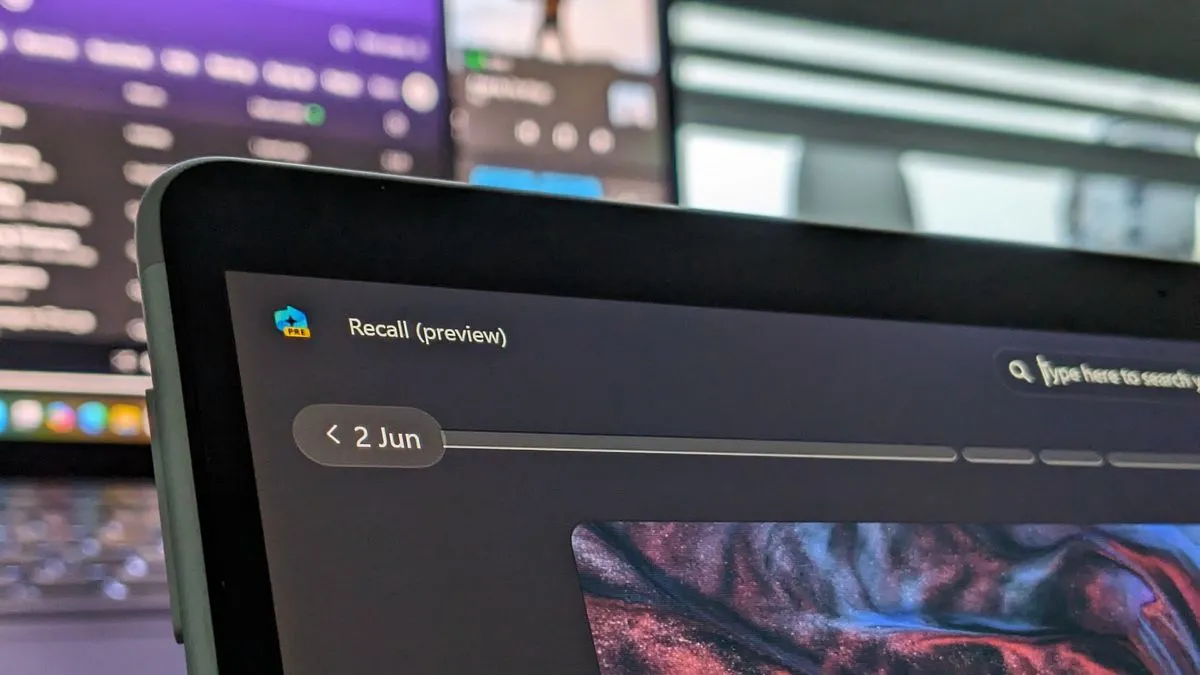
Windows 11: Understanding Windows Recall and Its Uninstallation
Friday, 27 September 2024, 10:34

Windows 11: Managing Windows Recall
For Windows 11 users, the concern over Windows Recall has been alleviated as this feature can now be easily managed. By default, Recall is switched off, allowing users the option to activate it when needed. The decision to use it or not lies solely in the hands of the users.
Uninstallation Steps
- Open your Settings.
- Navigate to the Apps section.
- Select Windows Recall from the list.
- Choose uninstall, and confirm.
This effortless process ensures that Windows Recall will not interfere unless explicitly desired.
This article was prepared using information from open sources in accordance with the principles of Ethical Policy. The editorial team is not responsible for absolute accuracy, as it relies on data from the sources referenced.